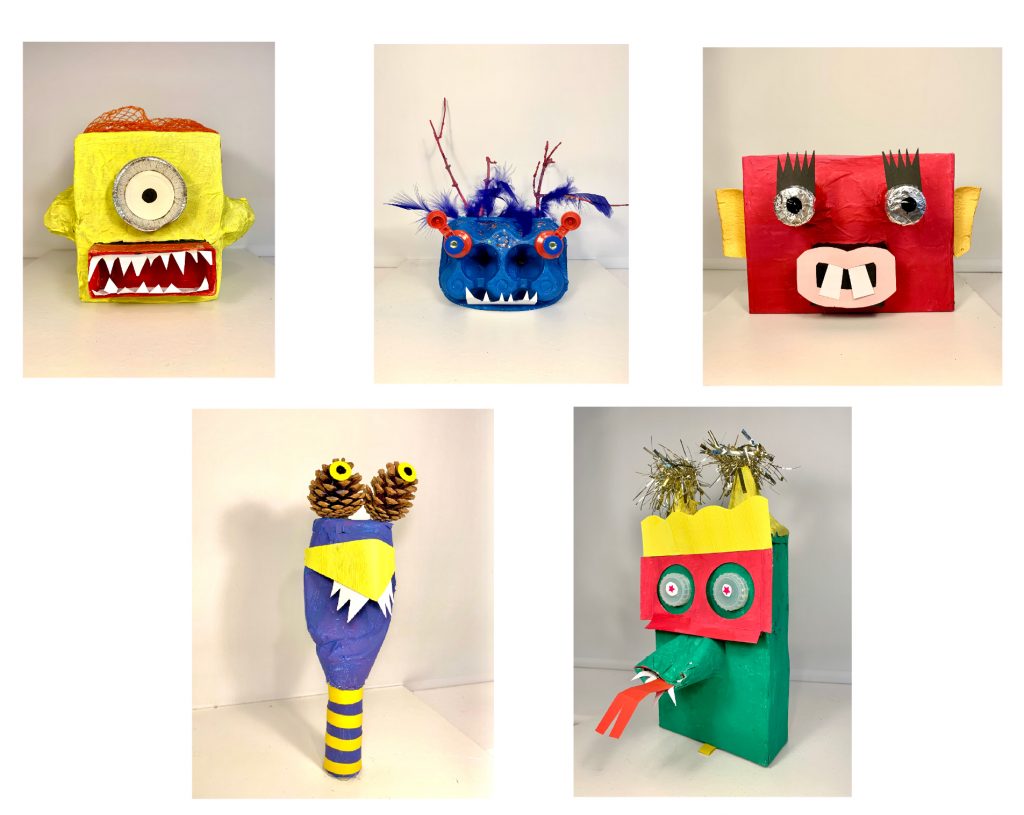
Model-making was a great project to start with as it takes the pressure off kids who aren’t confident at drawing. I knew that the Creature Heads would make a dramatic impact when mounted on the wall, regardless of artistic ability. It also uses up piles of packaging that would otherwise go in the bin.
Christmas was cancelled at Sweeting’s Greetings HQ this year as my family were forcibly engaged in building test mock-ups – and rigorously timed doing so. Scarcely had the Mince Pies been opened before the boxes were whipped away, smothered in paper mache and left making a horrible mess on the radiator prior to being primed and painted.
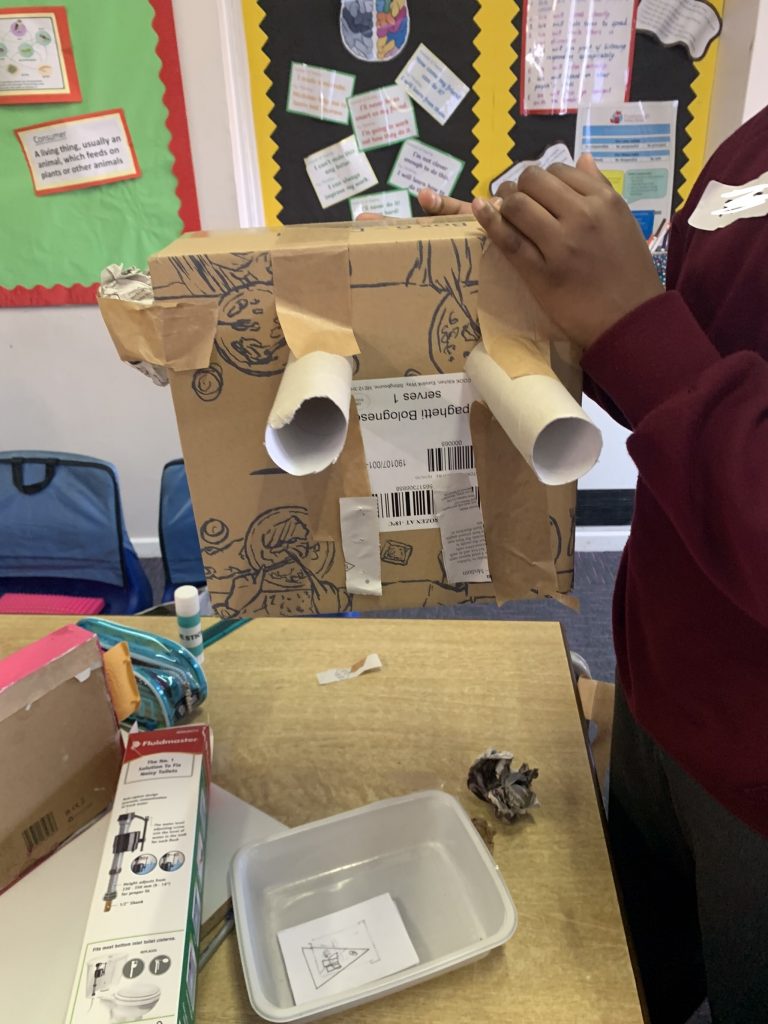
Session One: Designing and building our ‘armatures’ (the skeletons of our models)
Day 1 in Woodpecker Class and my fascinating intro speech fell on deaf ears. The Year 4s took one look at the samples I’d made and got straight to work.
The rich variety of armatures was so enchanting. Some were compact, sturdy and strong. Others were larger, wobblier and bristling with appendages.


Session 2 – Applying paper maché
Strips of newspaper slopped through flour and water paste was good enough back in the day but this time round I splashed out on 40 flagons of PVA glue to ensure an iron-clad coating.
It took twenty times as long for me to censor old copies of The Daily Telegraph before ripping them to shreds in my garage, than it did for the Artists to apply the maché in class.


Session 2a – Priming
The Artists were content with the leisurely pace of the project but like all overexcited Ariens I was chomping at the bit to speed things along. To save an hour of valuable time in the classroom, I nipped into school midweek and slapped Gesso primer on all the Creature Heads to conceal the newsprint, then left them baking beside a radiator.
Session 3 – Painting
The Artists were given free rein when it came to choosing their colour palettes. Those unable to decide between bilious green, violent orange, savage red, sunshine yellow and lurid purple used all five.


Session 4 – Adding accessories
The true beauty of the Creature Heads emerged when the Artists added hair and facial features. One gave thoughtful consideration to a lifelike oral cavity. Her classmate went a step further: he used card and tape to get his model to expunge it’s own liver via it’s mouth…


3D model-making delivered on many levels:
Required simple drawing and design: Each child planned their model in a Mini Zine
Flexed their fine motor skills: Everyday cutting and scissoring opportunities were reduced in lockdown
Experimental: Models were adapted and improved once in progress
New learnings: We discovered new words and phrases terms like’ found’ materials, ‘armatures’ and ‘relief work’


